How to record your screen on a Chromebook (2026)
Record your screen on a Chromebook with Showesome or Chrome OS built-in capture — install the extension, pin it, share tab/window/screen, add webcam and mic, export MP4 locally. Free, no watermark.
Yes — you can record your screen on a Chromebook. Use Chrome OS built-in screen capture for quick clips, or install Showesome from the Chrome Web Store for webcam overlay, tab audio, Focus Mode, and local MP4 export with no watermark.
This guide covers both paths, school-device gotchas, and when an extension beats the built-in recorder.
Open on watch page (for search and full-screen viewing)
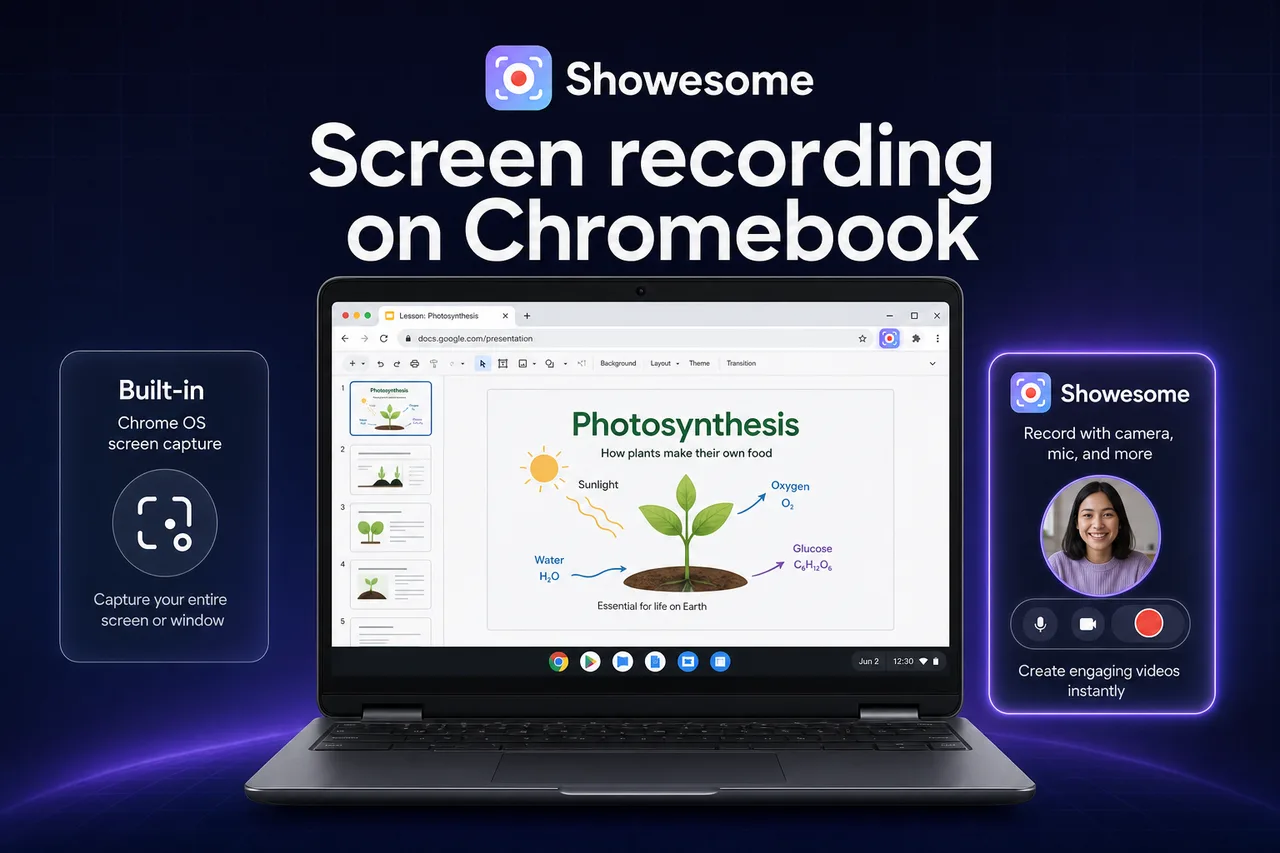
Built-in Chromebook screen recording vs Showesome
Chrome OS ships a screen recorder in Quick Settings — fine for fast captures. Showesome is a Chrome extension that runs in the same browser on Chromebooks and adds tutorial-focused features.
| Chrome OS built-in | Showesome (Chrome extension) | |
|---|---|---|
| Install | Already on the device | Chrome Web Store — free |
| Webcam bubble | Limited / varies by Chrome OS version | Screen + Camera with draggable bubble |
| Tab audio | Verify current Chrome OS build | Also share tab audio in Chrome’s share dialog (guide) |
| Click-to-zoom tutorials | No | Focus Mode |
| Virtual backgrounds | No | Yes — VB guide |
| Export | Often saved to Downloads / Files app | Local in Chrome → preview → Convert to MP4 |
| Watermark | None on OS capture | No watermark on Showesome exports |
| Best for | 30-second “show this bug” clips | Lessons, Slides walkthroughs, async updates |
For a wider Chrome comparison list, see best free Chrome screen recorders (2026).
Record with Showesome on a Chromebook (step by step)
1. Install and pin the extension
- Open the Showesome listing in Chrome on your Chromebook.
- Click Add to Chrome → Add extension.
- Click the Extensions puzzle piece → pin Showesome on the toolbar.
If Add to Chrome is greyed out, your school or work admin may block extensions — see Managed Chromebooks below.
Detailed pin steps: Enable and pin the extension.
2. Set mode, mic, and quality
- Click the Showesome icon → choose Screen Only, Camera Only, or Screen + Camera.
- Turn microphone on if you are narrating.
- Optional: Settings → Recording & Video → pick a quality preset (4K & presets guide).
3. Start recording and share
- Click Start Recording.
- In Chrome’s share dialog, pick Chrome tab, Window, or Entire screen.
- For lesson videos with sound, enable Also share tab audio when recording a tab.
- Click Share.
Same flow as desktop Chrome — see How to record your screen on Chrome (2026) for screenshots-level detail.
4. Stop and export MP4
- Click Stop on the Showesome control bar (or use Alt+Shift+S if shortcuts are enabled).
- Open Recordings History → click the clip → preview.
- Click Convert to MP4 → Download MP4 to your Chromebook Downloads / Files app.
Clips stay local in Chrome until you delete them or upload to Drive — preview & cloud guide.
Use Chrome OS built-in screen recording (quick clips)
When you only need a fast capture and your admin allows it:
- Press Ctrl + Shift + Show windows (or Ctrl + F5 on some keyboards) — or open Quick Settings → Screen capture.
- Choose record screen (full screen, partial, or window — options vary by Chrome OS version).
- Stop from the shelf notification.
Built-in capture is great for short demos and IT tickets. It does not replace webcam + screen, Focus Mode, or structured MP4 export for polished tutorials.
Common Chromebook workflows
| Goal | Suggested approach |
|---|---|
| Google Slides lesson | Showesome Screen Only or Screen + Camera + Focus Mode on slide elements |
| Flip classroom intro | Screen + Camera bubble — webcam + screen guide |
| Tab tutorial with narration | Share Chrome tab + tab audio + mic |
| Assignment how-to for students | Short built-in clip or Showesome if you need webcam |
| Upload to Google Drive | Export MP4 from preview → upload from Files or use Showesome Upload to Cloud |
Teachers comparing district tools: Screencastify alternative for teachers.
Managed Chromebooks (school and work devices)
Symptom: Chrome Web Store says extensions are blocked, or Showesome will not install.
What to do:
- Ask IT whether Chrome Web Store extensions are allowed for your OU.
- Request Showesome by name or extension ID — admins can force-install approved extensions.
- If only built-in capture is allowed, use Quick Settings → Screen capture for the term and export via Files.
- Test camera, microphone, and screen share permissions after any policy change — Chrome permissions fix guide.
Showesome cannot bypass district policy. Plan with IT before promising a specific tool to a class.
Chromebook troubleshooting
| Problem | What to try |
|---|---|
| No sound in the recording | Enable Also share tab audio; check mic in popup — no sound guide |
| Extension missing after restart | Re-pin from Extensions menu; confirm admin did not remove it |
| Recording stutters | Close extra tabs; lower quality preset; shorten clip length |
| Files app full | Delete old downloads; see recordings library cleanup |
| Camera blocked | Chrome site settings + Chrome OS Privacy and security → Camera |
| Very long session fails | Chromebook RAM limits — split into shorter takes |
Can I record Zoom or Google Meet on a Chromebook?
You can record what Chrome lets you share — typically your tab or window — with tab audio when the browser provides it. That is not the same as a dedicated meeting recorder with participant consent flows.
Practical guidance:
- Prefer recording your own presentation tab or a lesson you control.
- Tell participants when a session is being recorded if your org requires it.
- For Meet/Zoom-specific audio quirks, start with record Chrome tab with audio.
Do I need OBS on a Chromebook?
Usually no for standard tutorials. OBS Studio is not the default path on Chrome OS (Linux/OBS setups exist for advanced users but add friction). A Chrome extension like Showesome matches how most Chromebook users already work — see Which screen recorder is right for you? for browser vs desktop tradeoffs.
Related reading
- How to record your screen on Chrome (2026) — same Showesome flow, desktop-focused detail.
- Record screen + webcam in Chrome — picture-in-picture bubble.
- 4K screen recording in Chrome — quality presets on high-DPI panels.
- Getting Started — interactive install walkthrough.
- Support — FAQs and troubleshooting.
Quick checklist
- Confirm your Chromebook allows Chrome extensions (or use built-in capture).
- Install and pin Showesome from the Chrome Web Store.
- Pick Screen + Camera or Screen Only → enable mic (and tab audio if needed).
- Start Recording → share the right tab / window / screen.
- Stop → preview → Convert to MP4 → save to Files or upload to Drive.
Was this guide helpful?
One vote per browser. No account required.
Be the first to share feedback.
Comments
Join the discussion — comments are moderated to keep things helpful. Be respectful and constructive.
Preparing sign-in…